It’s my party and I’ll fry if I want to.
No time like the weekend to get your fried on! Today we take an extreme detour from the sugar highway to the Land of the Fry: America, baby! It’s funny how the brain works. This week I subjected mine to the happy combination of reading Heston Blumenthal’s In Search of Perfection with the television on in the background. About twenty KFC advertisements later, I had a powerful craving for some fried chicken.
Perfectly crispy. And preferably shaped like a dessert. Or a seashell or something.
Signature range notwithstanding, the red, white and finger-lickin’ all over clearly wasn’t going to cut it. Lacking the hefty Heston funding, I embarked on a journey appropriate for the theme – the kind with Google as your tour guide and requiring no more movement than the range of your mouse.
Refusing to chicken out, I’m now sitting (quite heavily!) on the other side of four fried chicken meals in a row, and my apartment is littered with recipes mostly sporting the prefix ‘Southern’, ‘Mom’s Best’, or ‘X-TRA CRISPY’ but by gorge, I think I’ve got it!
It’s important to note that this isn’t so much a recipe as it is a method. Fats on, fats off, Mr Miyagi!
Wet Ingredients
One chicken (in pieces) (or 4 legs/breast/thighs – whichever turns your head!)
Two/three beaten eggs or buttermilk
Oil (A neutral oil is best, like peanut)
Basic Dry Ingredients
2 cups all-purpose flour
Salt and pepper to your taste
Optional Variation on Dry Ingredients
Use your imagination!
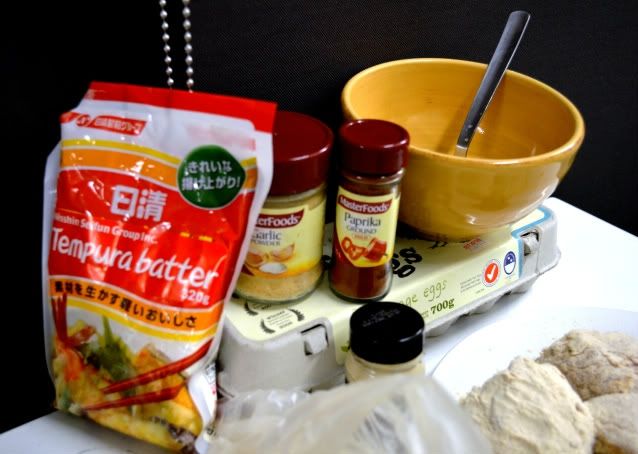
For increased crisp: substitute some of the flour with tempura flour.
For seasoning: If you want an Asian-style fried chicken that’s more brown, add paprika and use white pepper. Other great seasonings include garlic powder, onion powder, chilli powder, or curry powder.
In these attempts, I used a 1:2 ratio of tempura flour to regular flour, paprika, white pepper, and garlic powder.
Instructions
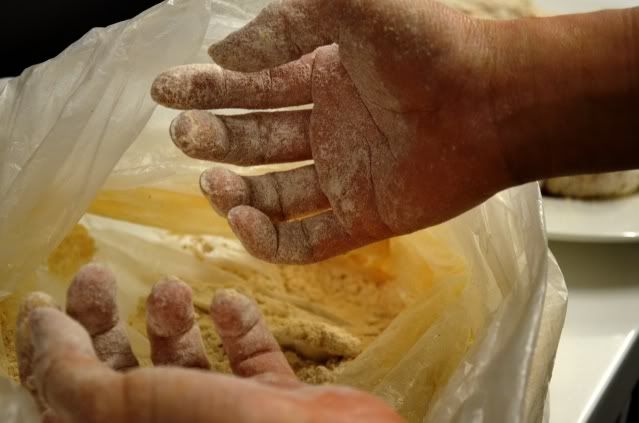
1. Mix the dry ingredients together by shaking them in a big freezer bag.
2. Soak the chicken pieces in buttermilk for 20 minutes, or simply dredge them thoroughly in the beaten egg/buttermilk.
3. Put the wet chicken pieces into the bag, twist or seal it shut, and toss the bag until each piece is thoroughly coated with the flour mixture.
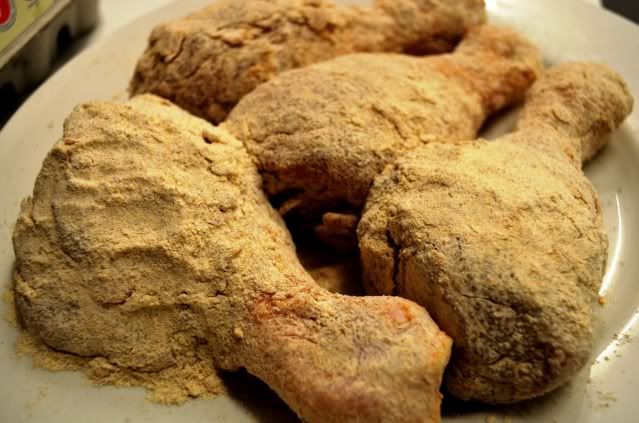
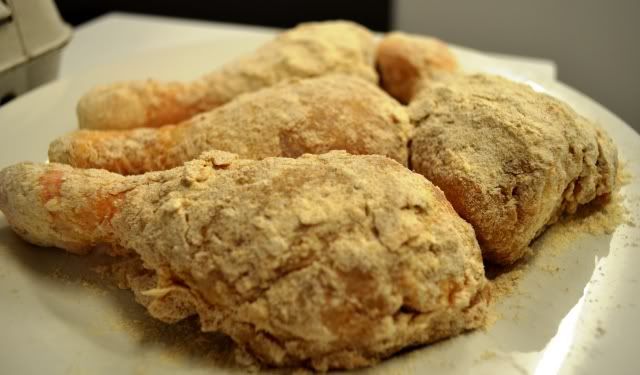
4. Put the chicken on a plate, cover with a clean cloth or sheet of plastic, and leave it in the fridge until the coating has reached a paste-like consistency.
It will be sticky. This will take over half an hour. For ease I suggest you complete these steps early in the day or the night before.
5. Fill your skillet (or pot) with oil (1/3 full). You don’t need the chicken to be fully submerged in oil.
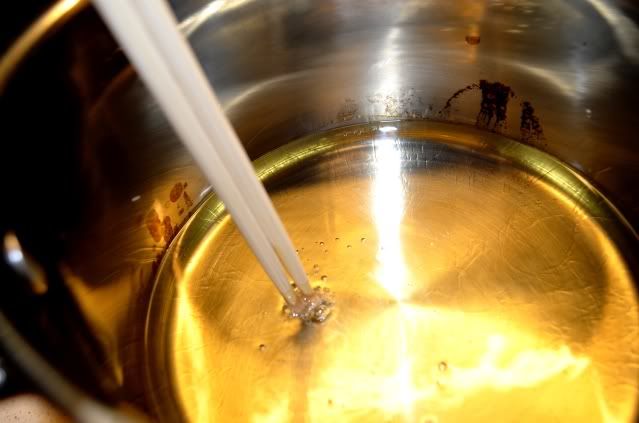
Test oil with a wooden chopstick or the handle of a wooden spoon to make sure it's hot enough.
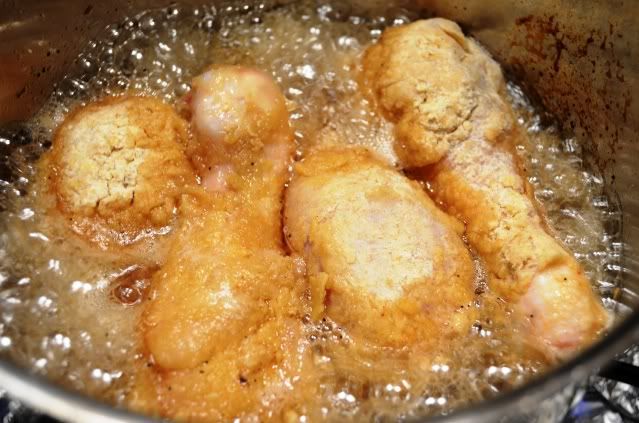
6. Heat the oil until it begins to smoke. Put the chicken in and flash-fry on one side, and then turn over. Chicken should be lightly golden all over.
Flash-frying on the first side.
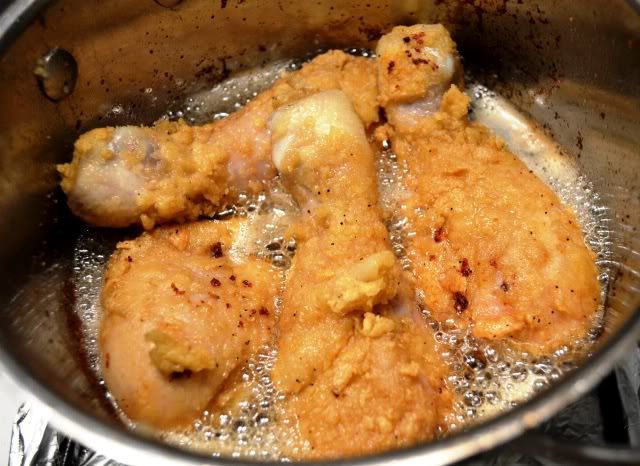
7. Cover the skillet, turn the heat down low and leave to cook for 25-30 minutes.
Not yet crispy.
8. Uncover. The chicken should be cooked, golden, but soggy. Turn the heat up high again to finish frying to a crisp. This will take a few minutes.
9. Drain and serve!
The Result
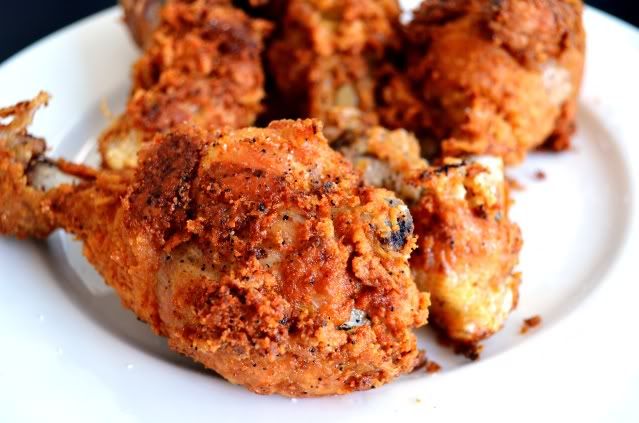
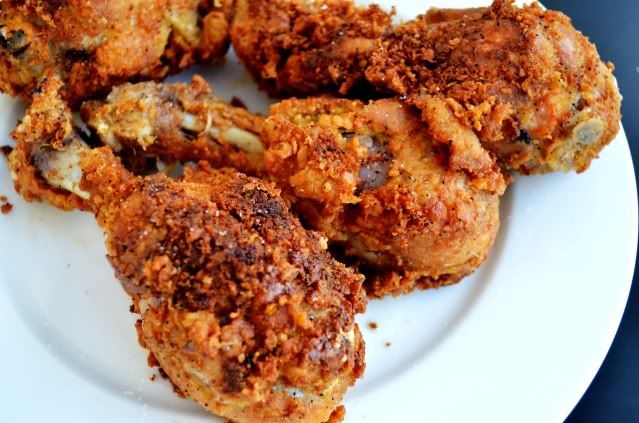
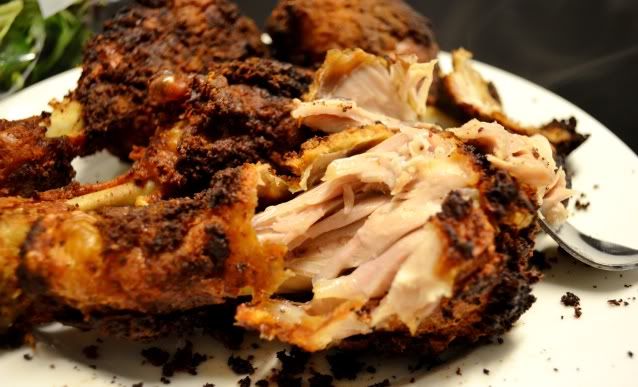
Fool-proof fried chicken that is crunchy crispy but moist, juicy and (importantly!) cooked inside!
Mine gets pretty brown from an excess of paprika and the zealous heat of my stove, but the meat is always as tender as a tot.
It may not look like a cookie, but this chooky is pretty perfect! And I can always let the fried slide.
P.S. This post marks the inaugural occasion of my new Nikon SLR being used! I still have a heap of backlogged photos from my canny old Canon though.
